Part 7: Chapter V - Look closely at their faces, shining with depravity


Look closely at their faces, shining with depravity!
 Pagus’s squad has joined the party.
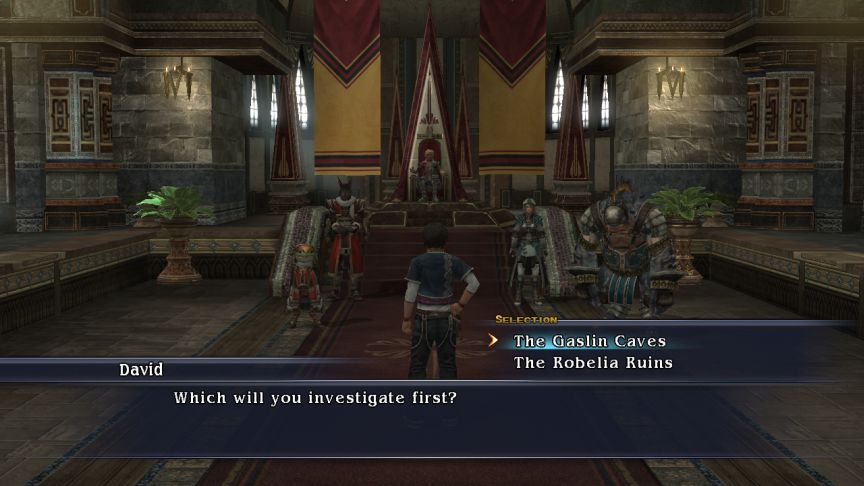
 You get an opportunity to change your mind, but the thread’s decided, so I’m sure.
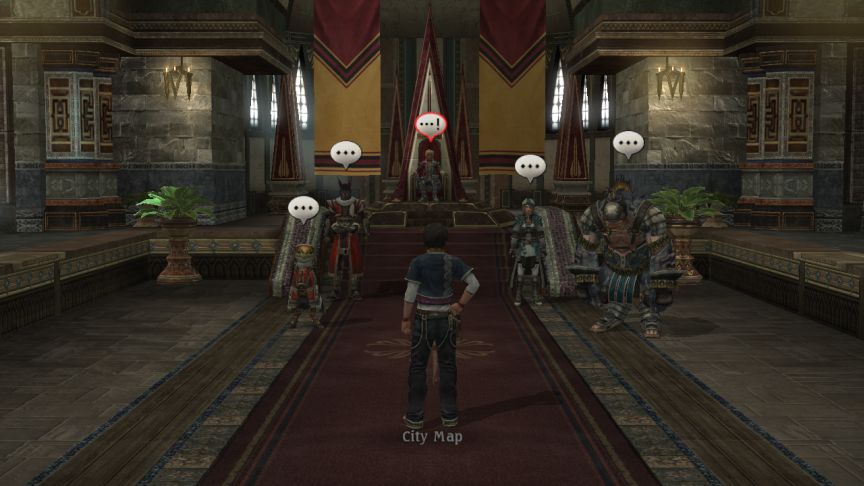 This shot will become very familiar-looking. Athlum Castle is now our base of operations. If you ever get confused about where the main plot is, you can helpfully return here and Dave will remind you. The Four Generals will also chime in with their thoughts on the current mission. Let’s do that now, in fact.
Music: The Known World
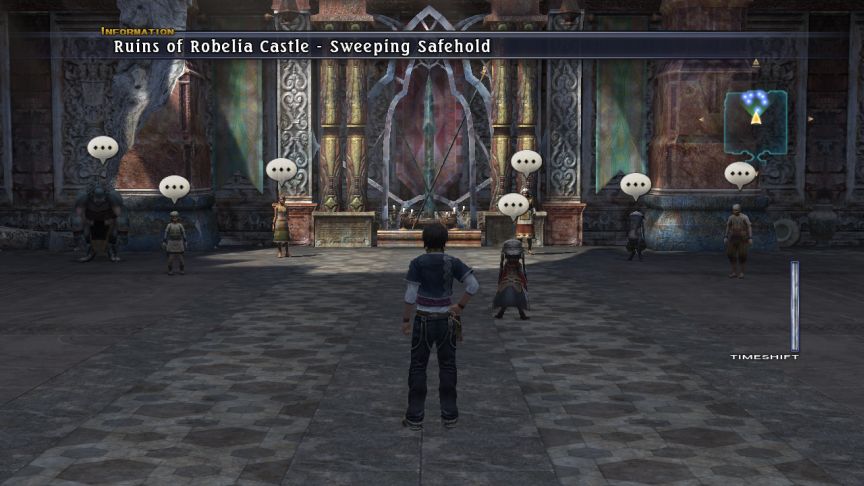
 - Video: Dungeon: Ruins of Robelia Castle (Tutorial)
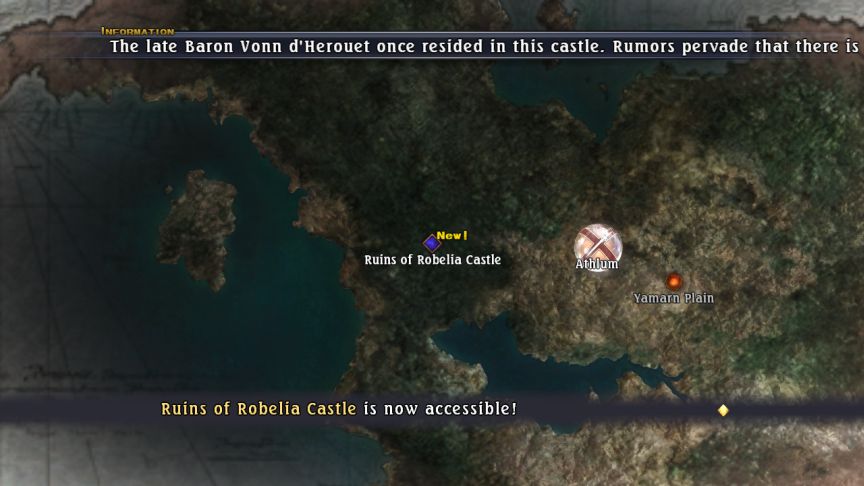
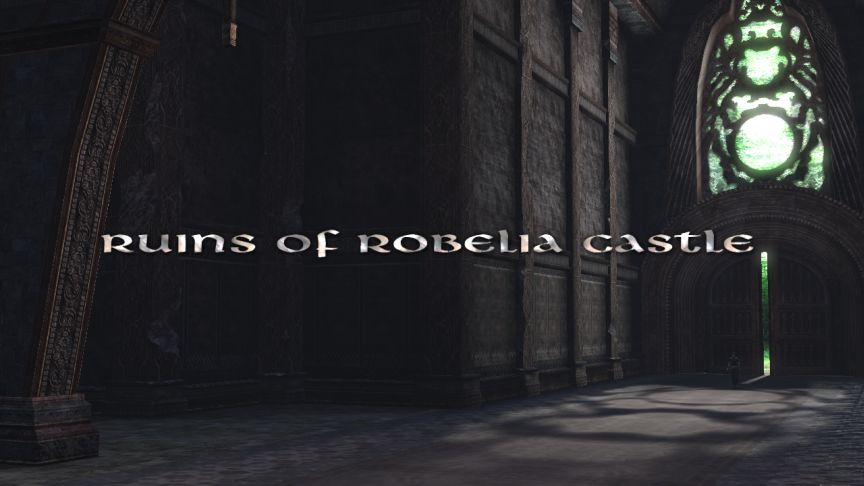 Ruins of Robelia Castle - The late Baron Vonn d’Herouet once resided in this castle. Rumors pervade that there is a labyrinth below it, but they have yet to be confirmed.
Music: Creeping Shadows
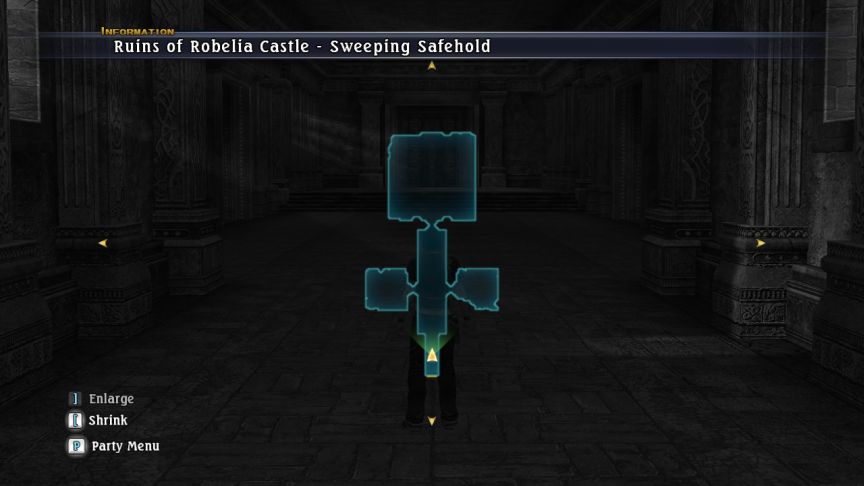
 Obtained Alizarin Orb! Rush can now use
 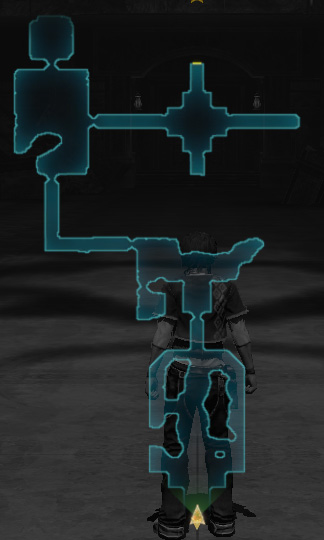 Obtained Robelia Ruins Map 1!
Finding a map allows you to check your current position. Press {M} to display the map.
New Game Plus, so I have all the maps already.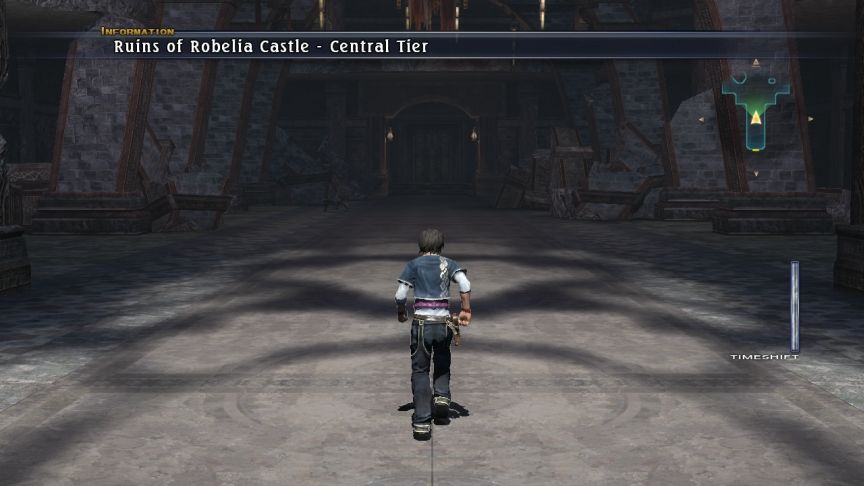 Actually, let’s not go on just yet. There’s a couple things worth discussing first.
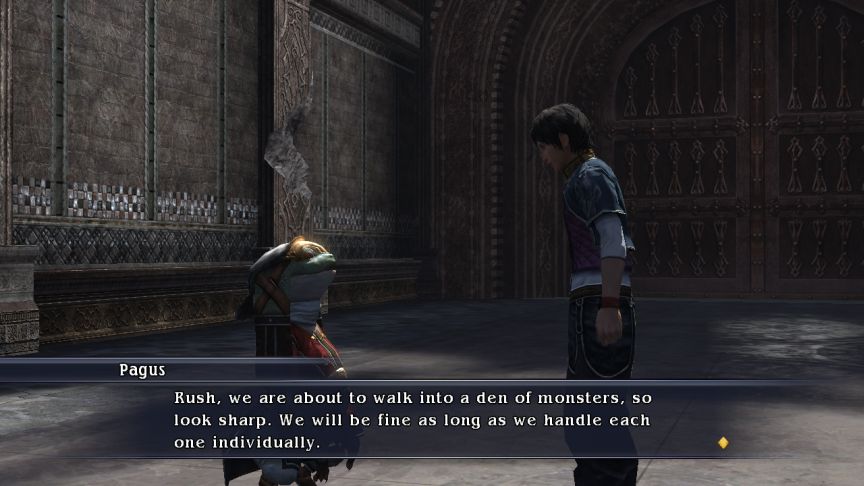
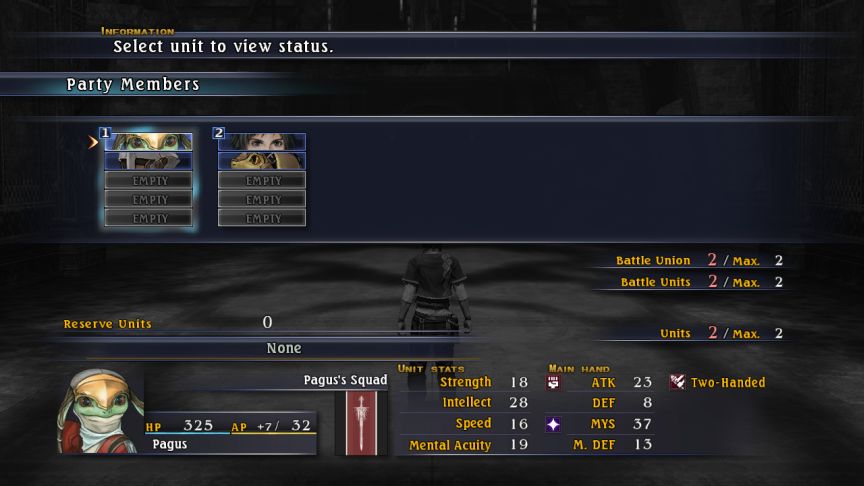 The game automatically organizes your unions for the tutorial sections. We get Pagus and two generic Athlum soldiers.
Pagus
One of Athlum's Four Generals. Master of intelligence gathering, he's also quite the history buff.
(Voiced by Chris Kent.)
Class: Expert Shaman
Initial BR: BR 5
HP: (325)
Str / Int: (18 / 28)
Current Arts
 Two-Handed: Double Strike
 Invocations: Spark
 Remedies: Restore
-
 Wards @ BR 50
 Herbs @ BR 26
Comments
Pagus is a mage all the way. He starts with a Combat Art, but he’ll never be that good in melee, so you may as well disable that so he can conserve his AP for spells. He’s the only unique leader who starts out as a Shaman, which is the starter class for Mystic characters. He is one of only FOUR leaders (before BR 80) who can get Wards. It happens pretty far into the game, but you should definitely learn them. Pagus is well suited to leading a union of mystic users. He can learn Herbs, but you may want to turn them off either right away, or wait until he learns Vivication Herb before turning them off.
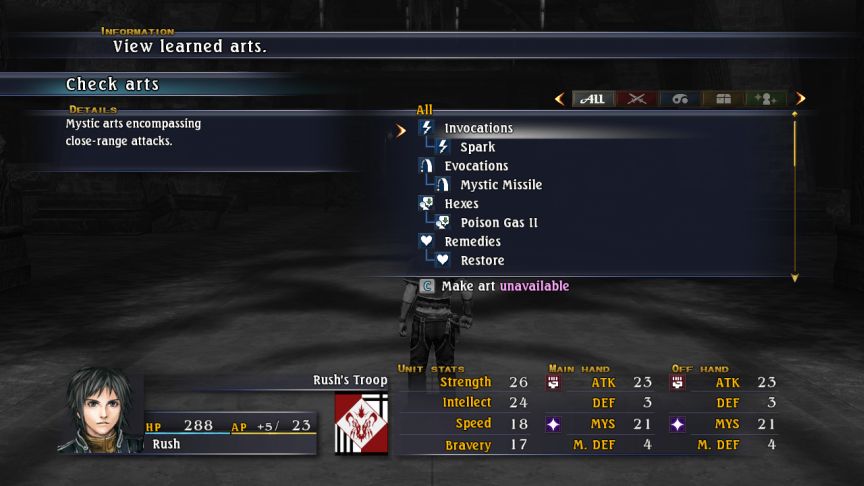 Because we went with Pagus first, we get control over Rush’s arts menu now. If we’d gone with Blocter, we wouldn’t. So let’s see what our idiot hero knows.
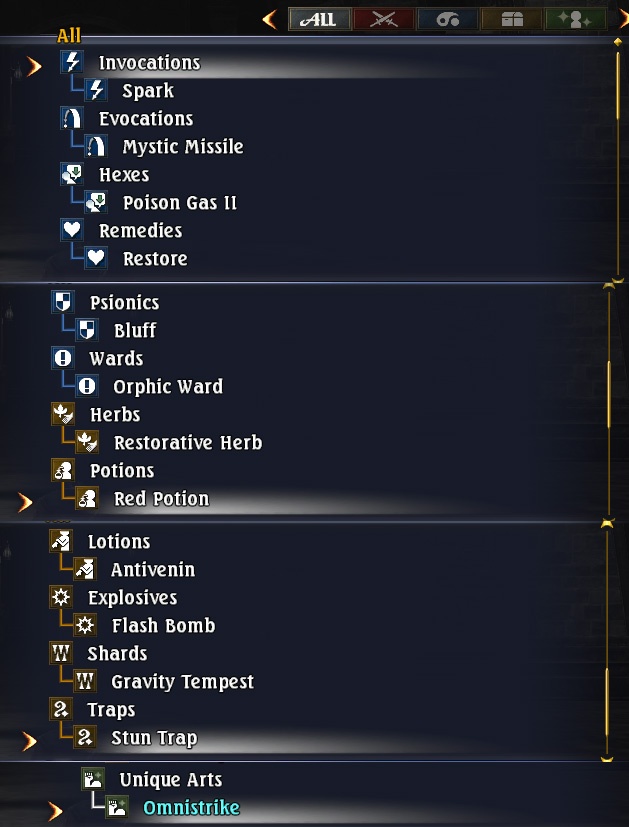
 The benefits of New Game Plus. A clean save only has Rush knowing Invocations, Herbs, and Omnistrike. Obviously, I’m turning off most of these, and only leaving Invocations, Remedies and Psionics. (No one ever turns off special arts.) Especially important is turning off the pesky Herbs – I’ll explain why in the mini-update on class changes.
Music: Flamedrop
 Directing units to use mystic attacks will make them channel energy through their weapons to perform mystic arts. Mystic arts encompass everything from long-range attacks to recovery spells. However, they can take a long time to cast. By “a long time to cast”, it means that better stuff has a higher AP cost, and it will take a couple turns to build up enough to cast a spell. This is as opposed to Item Arts, which can be used immediately at no AP cost.
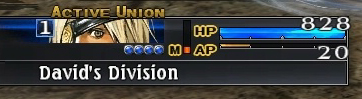
Actually, let’s explain AP better, as I don’t think I’ve done so yet. AP is your Action Points. Each unit in a union gets so many AP at the start of their turn, and each unit has a maximum amount of AP it can store. In a union, those values are pooled together for each unit into one big shared pool. So even though David might personally only have 5 AP, he can still cast a 10 AP art because the union as a whole has 20. This leaves 10, and if another unit has an art that matches the battle command, they can cast it as well.
Units which do not have enough AP to use an art will either perform a normal attack if at close range, or else stand by and do nothing. Any units in a union which are unable to comply with heal or buff commands will stand by.
Any unused AP is carried over to the next turn - even if your union is KO'ed. Only a few select attacks can deplete the AP of an enemy union.
AP is used for performing Combat, Mystic, and Special arts, but not Item Arts.
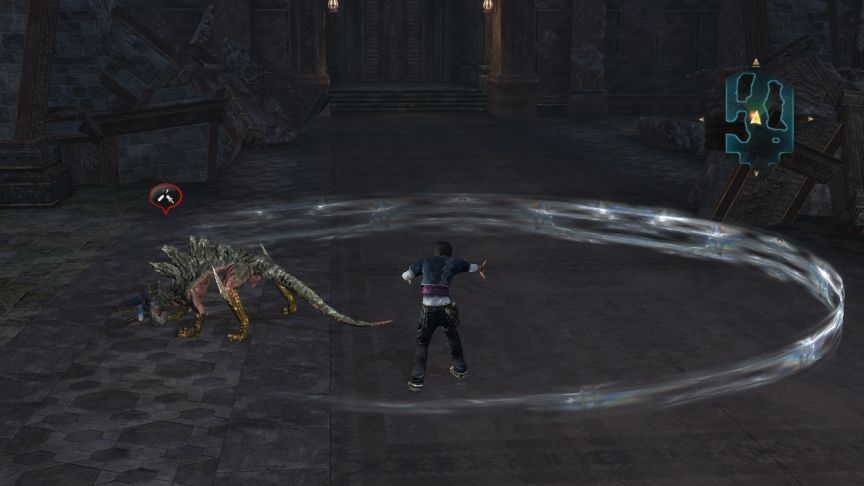
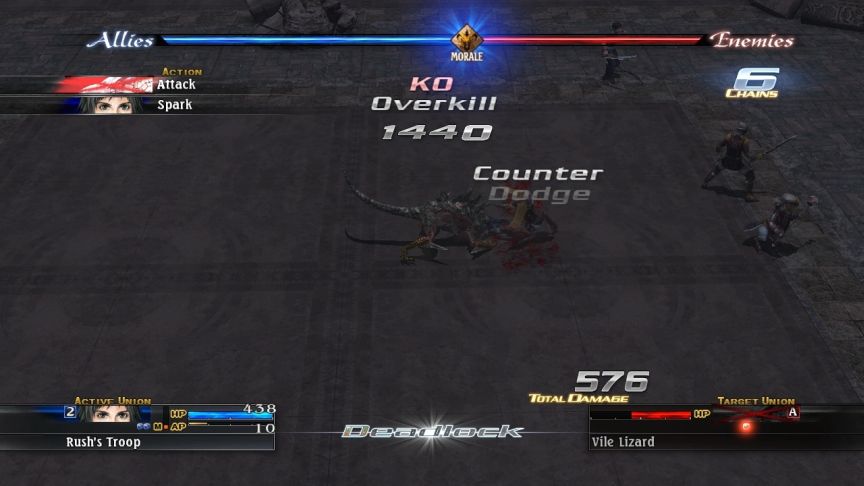
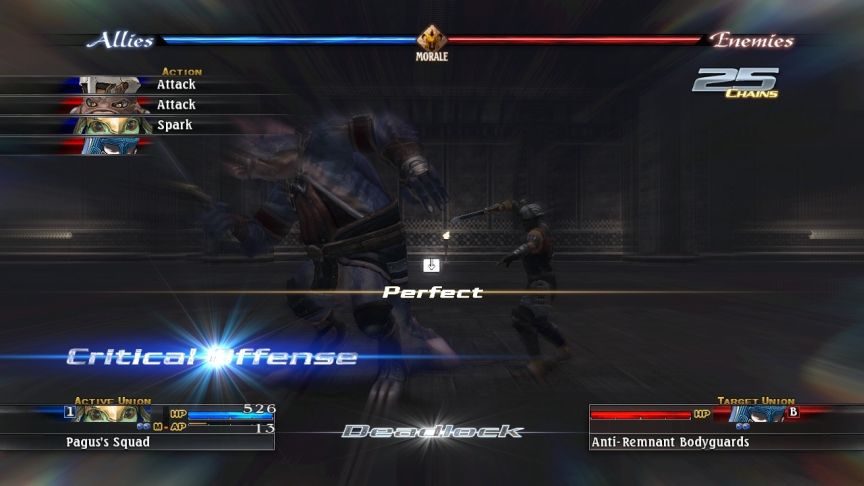
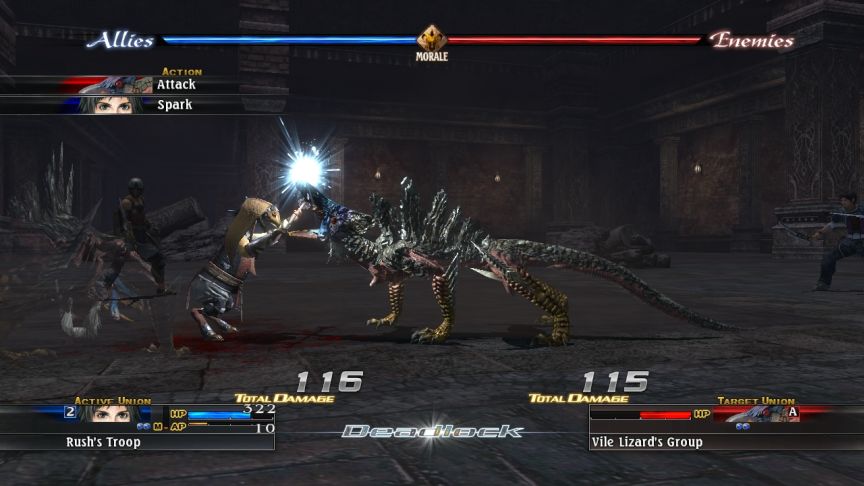 Claude the qsiti attacked the vile lizard with a physical attack, which as you can see did 115 damage, but only took off half its health. He then blocked an attack.
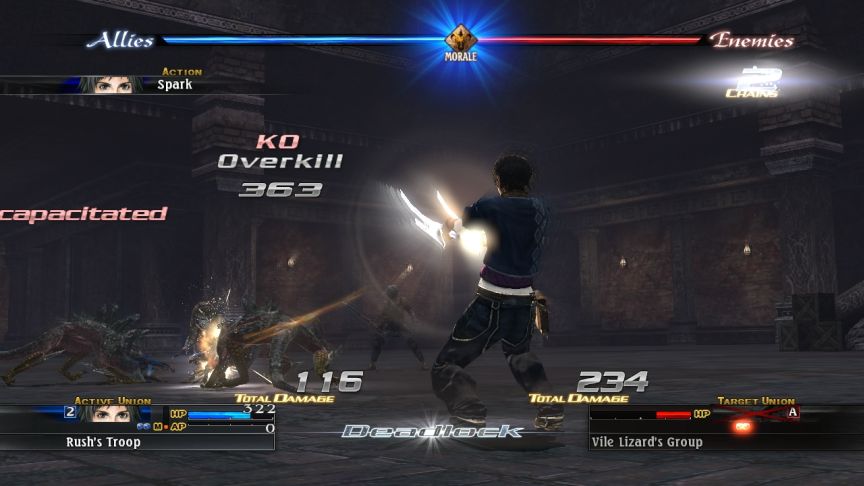 The Mystic attack did 363 damage though. An Overkill is when a unit takes 2.3 times their maximum HP or more in damage. I think getting an Overkill also improves the drops from an enemy, but I’m not sure.
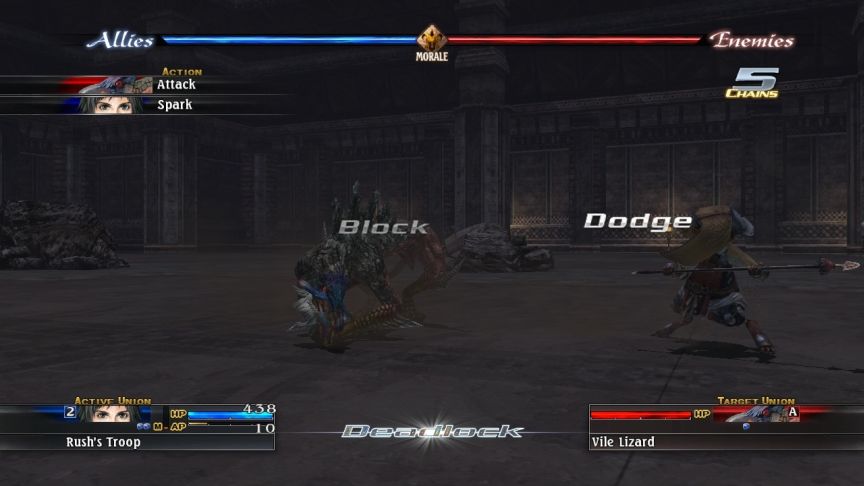 Claude dodges out of the way of the attack, and…
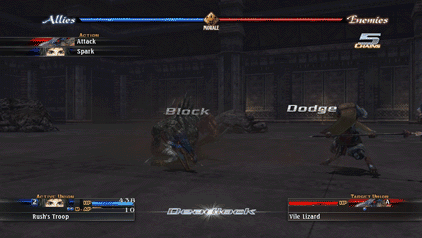
 -Critical Trigger-
 Sometimes during battle, a Trigger Chance will occur. During a Trigger Chance, you’ll be given a brief opportunity to press a certain button on the controller. A well-timed button press will launch a Critical Trigger, giving your side a definite advantage in battle.
Successful Trigger Chances while on the attack will launch a Critical Offense. This will cause the next friendly unit to act faster than usual. Successful Trigger Chances while being attacked can launch a Critical Defense. This can change a simple block to a shield bash, or a dodge to a counterattack.
If you find you just can’t keep up with the timing, Critical Triggers can be switched to occur automatically through the Config Menu. (Critical Trigger Settings have been added to the Config Menu!)
Critical Triggers are QTE’s which occur during battles. They’re the only way you can influence a battle between turns. They’re not too hard to hit, except if you have switched turbo mode on, which makes the battles go a lot faster, and also speeds up the QTE’s to impossible speeds. If you switch turbo on, you’ll also want to change Critical Trigger settings to automatic. That gives you an 80 percent chance to hit them. That seems high, but you can usually do a lot better hitting them yourself.The QTE’s are not required for the attack to connect or the defense to work – that will happen even if you flub it. They just have a chance to add extra effects.
Critical Defense will either happen on a dodge, a block, or a parry. On a successful Dodge QTE, you get a Counter, which deals a huge amount of damage to the attacker, something like 5 times normal attack damage (maybe more?). A Block with a shield can let you do a Shield Bash, which also does damage, but not as much as a counter. A Parry will inflict Blacked Out status on the target, which lowers their physical defense to zero and prevents them from acting for the rest of the turn.
Critical Offense will happen on an offensive command by one of your units, and if successful, the next teammate who would move after an enemy will get their turn before an enemy.
Example:
This is the initial state of who will act in this turn. Now, let’s say Rush gets a Trigger Chance, and lands a successful Critical Trigger.
Blocter now moves in front of Vile Lizard A. Because Rush landed a critical trigger, Blocter is guaranteed to also get a trigger chance. He lands it…
And Emma moves up. As before, she is guaranteed to get a trigger chance. She lands it, to move Torgal up.
The chain continues until Torgal receives and also lands a Trigger chance, moving Pagus up.
Pagus, as the last unit to act, will NEVER get a QTE. But because both at least the last two other allied units moving directly before him (Emma and Torgal) both succeeded at the QTE, than Pagus’ attack will be an guaranteed critical hit, AND if he was going to use a normal Attack, AND there is enough AP, that unit will be upgraded to perform an art instead. This will often be enough to destroy the enemy union preventing them from acting.
You never get a Crit.Off. QTE if an attack will miss or be blocked, and if you successfully hit a QTE mid-round, the next unit will always get a prompt. Those two things together mean that if you hit a QTE, than the next person to move will never be blocked or dodged.
You also don’t get a QTE prompt if the unit is taking a defensive action like healing or casting a defensive spell, but if there’s another unit who will take an offensive action afterwards, than they will get a QTE. For example, if Emma’s action was to heal, she would not get a QTE, but if Torgal was going to cast Mystic Missile, he would get a QTE.
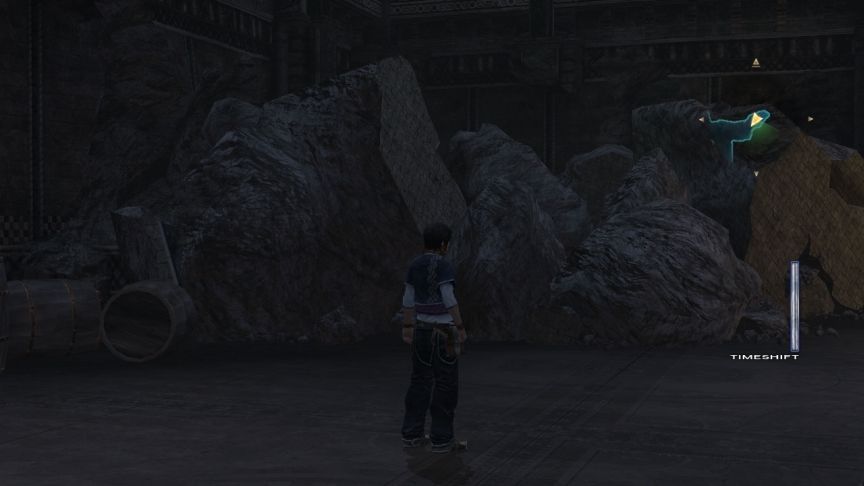 The Last Remnant is nice for all the little details it thinks of. For instance, this pile of debris in the middle of the castle.
 Wherever there’s a pile of rubble in the game, you can usually see the hole where it came from. How many times in games have you been in old collapsed ruins and had your path blocked by rubble which apparently came from absolutely nowhere? Here, there’s almost always a hole. That’s a nice attention to detail.
 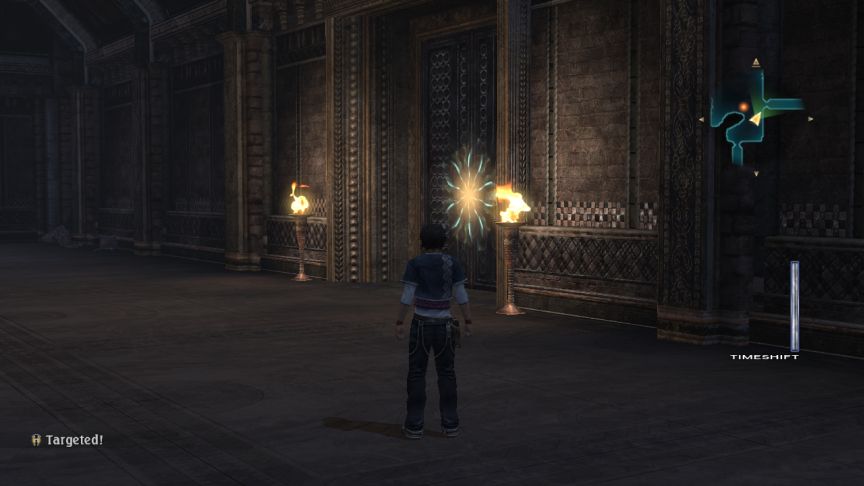 When you get targeted by an aggressive enemy, you get a sound notification, a warning in the bottom left, and an indicator of its position on the minimap. But actually, I’m here because of the glowing door.
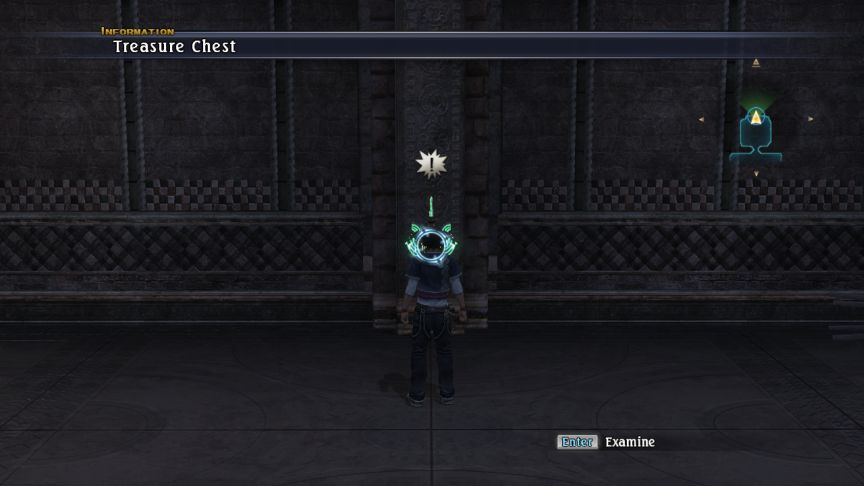 Obtained Slayer Stone!
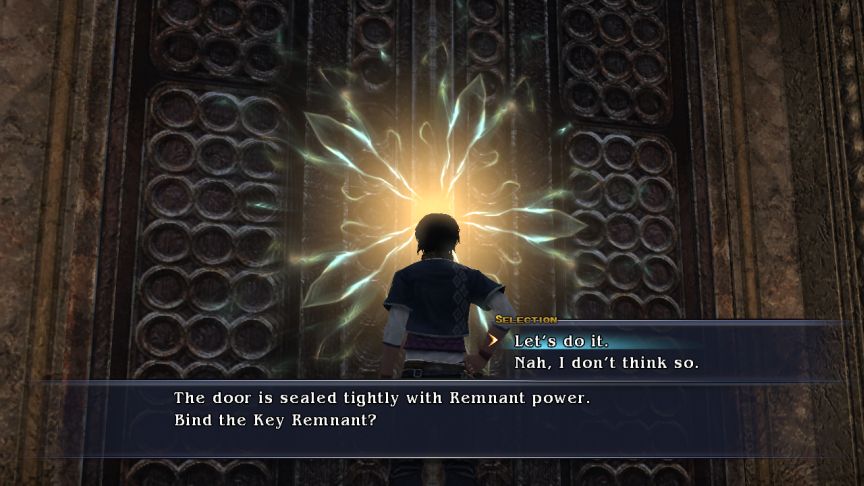 The seal has been broken.
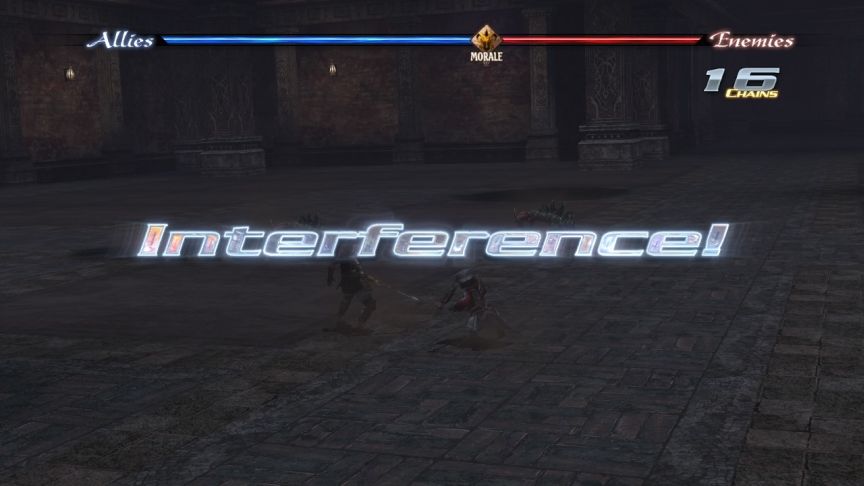 -Deadlock Interference and Deadlock Interception-
If an enemy union is attempting to Deadlock a friendly union, but is instead caught in Deadlock itself (by a different friendly union), this is called Interference. When it’s the player’s side that gets caught, it is called Interception.
Once contact occurs, it is treated as a deadlock, and there is no attack bonus, although the intercepting side gets a Morale boost. The intercepted unit will perform the commands it was following on the intercepting unit. The ‘???’ means that it’s a map transition to a place we haven’t entered yet. Once we have, it’ll display the name of the next area.
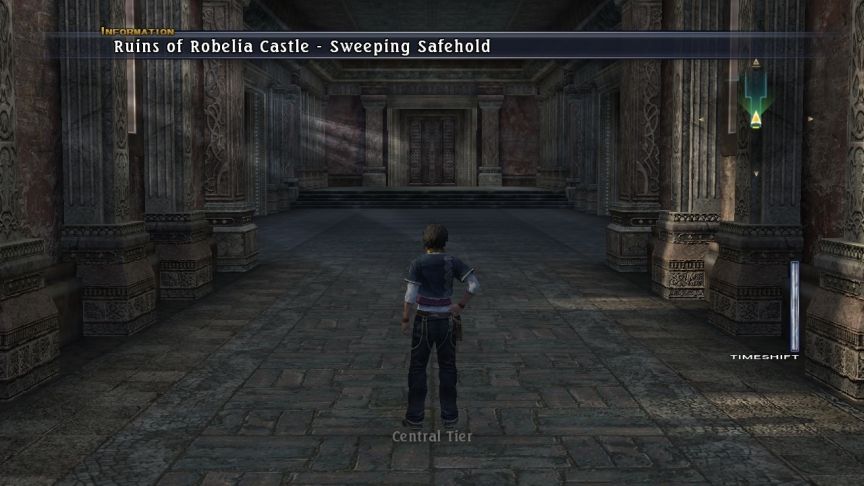
 Small floor. The right-hand room has a treasure chest containing Greaves, which grant +3% Speed. I put them on Rush.
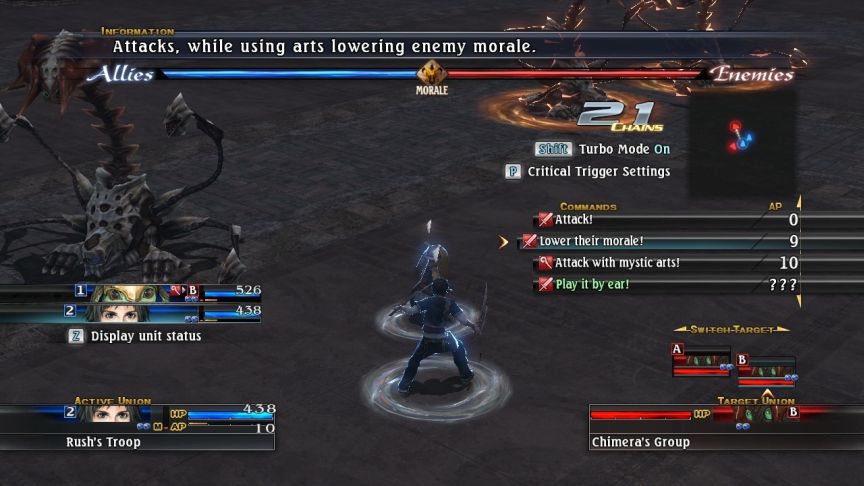 The left-hand room has a pair of Chimeras, who have both linked into the fight. I’m having Rush practice his Psionics with Bluff, because Psionics level up faster than damage-dealing mystic arts. Chimeras are noticeably tougher than anything else so far – it actually takes three turns to kill them.
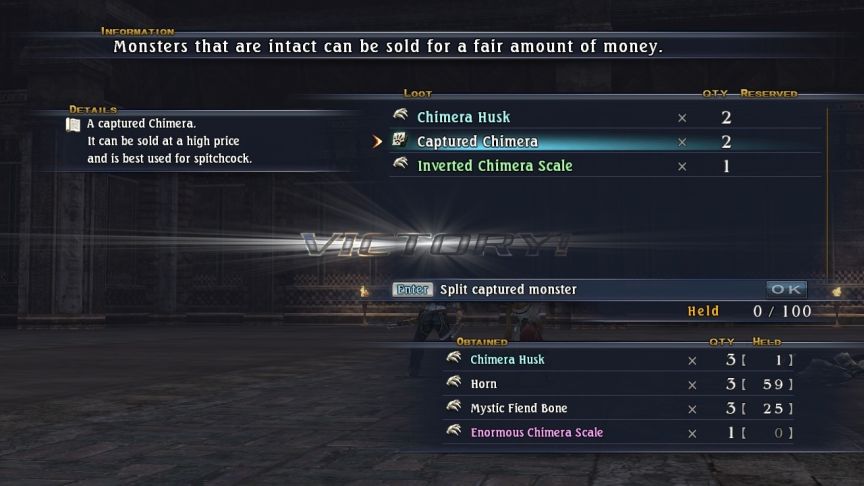 You’ve captured a monster!
Captured monsters may be split for components. However, intact monsters may be sold in certain shops for high prices. Choose wisely – you only get the choice to split a monster once. Once certain monsters have been sold to shops, those shops may begin selling trade goods.
The list of items in the bottom right is the components we’ll get if we split this monster. Components listed in white are common components that drop easily. Components listed in blue are breed components. I think those are also fairly common. Components listed in green are “Magazine Drops”, which are a separate category of drops you have a chance to get if you have acquired a specific magazine. Components listed in pink are rare components that have only a 5% chance of appearing (or less).
In general, if don’t have many of the component, split the monster for them. If you want trade goods or need money, then sell monsters (preferably only ones which will only yield common items when split.
I have 2 Chimeras captured. Unfortunately, you can only decide to split Chimera #2 if you split Chimera #1. If you decide to sell Chimera #1, you can’t split Chimera #2.
That does it for this version of Robelia Ruins, next up is the boss.
- Video: Occupy Athlum?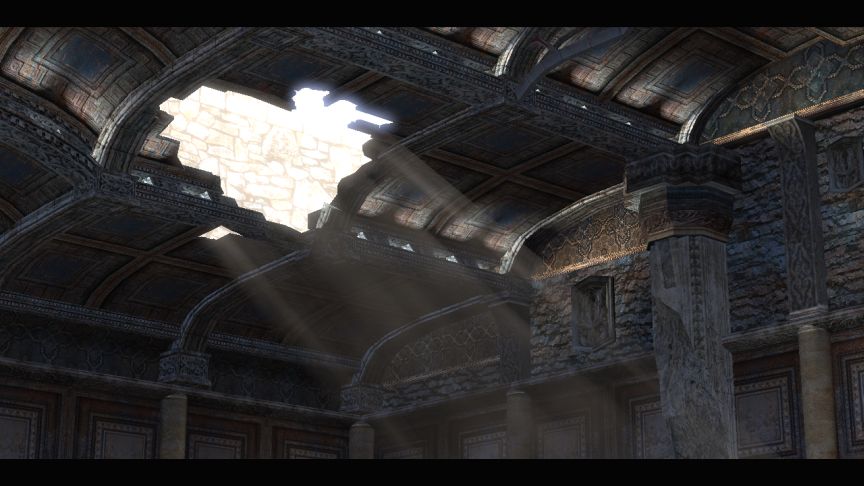
 So, as you see, Remnants are nothing more than evil charms, meant to add to the depravity of man. You may not see the effects now, but not far into the future, terrible disaster awaits! By then it will be too late to change our sinful ways. Men are meant to work hard and make their own way. We must not accept the temptations of easy life that Remants provide.
Crowd: *cheers*
Stand up and fight! The first step is here: we will strike Athlum with the hammer of justice! See our allies here, dressed as Athlumian soldiers.  They will infiltrate that city of sin and cause a disturbance. That will be our chance. Come, let us liberate the people from their chains!
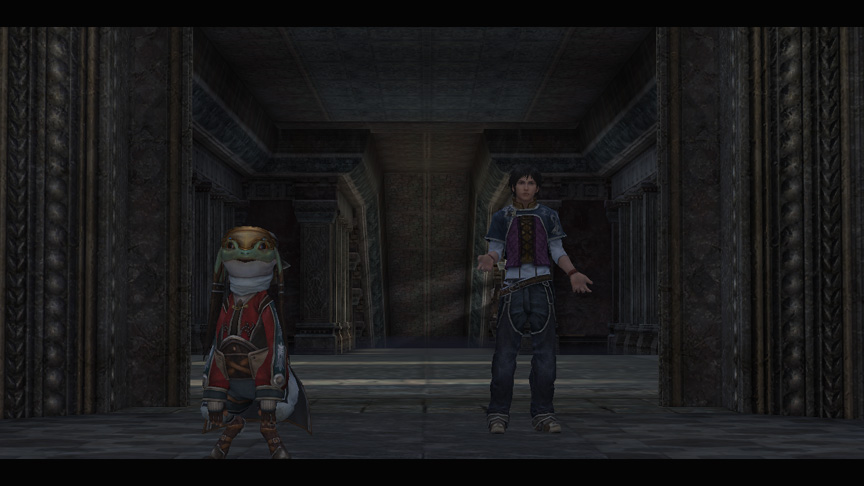
 Who’s there? Oho! It seems we have guests! Lackeys of that magic-abusing Marquis of Athlum.
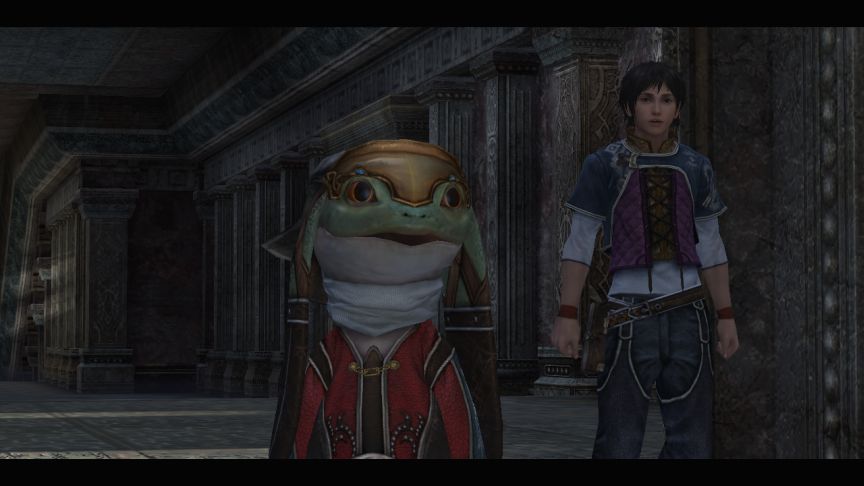 Look closely at their faces, shining with depravity! Woe, for it is too late for these unbelievers to be saved! Yet they can serve some purpose: a prelude to the cleansing of Athlum! We shall christen our movement with the blood of these servants of evil!
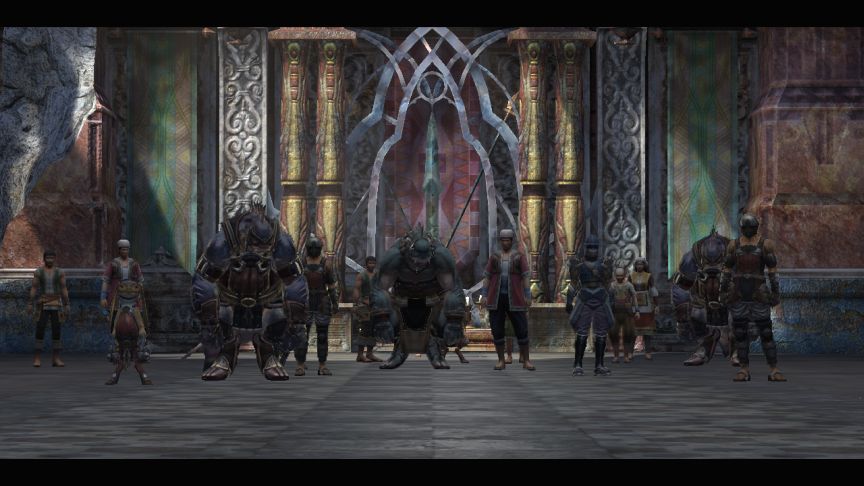 Prepare yourselves!
Music: Struggle Eternal
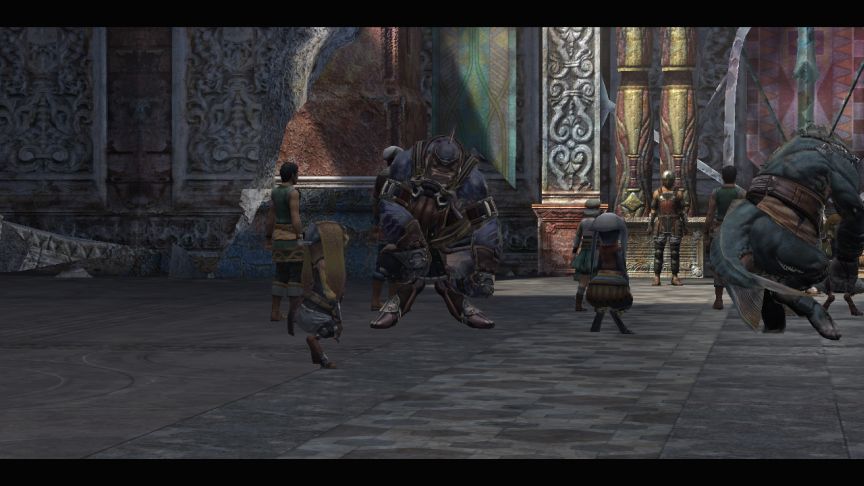
- BOSS: Anti-Remnant Activists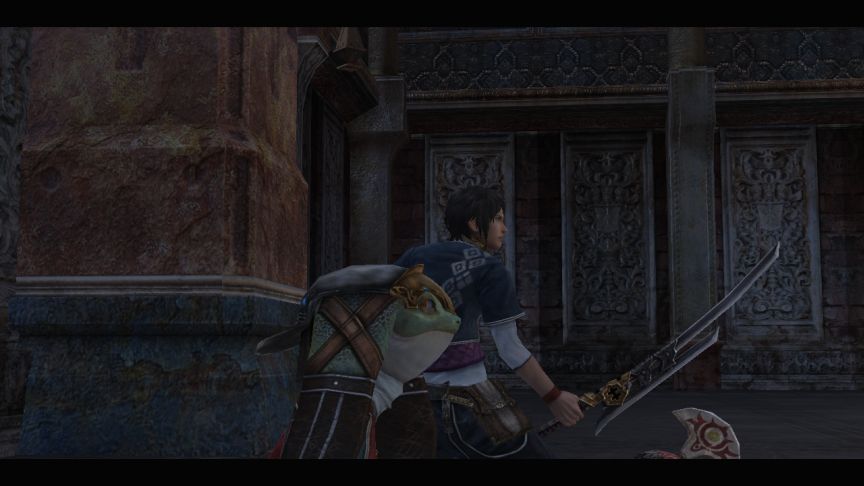 Mission: Defeat the Anti-Remnant Activists! S-shut up, you servant of evil!
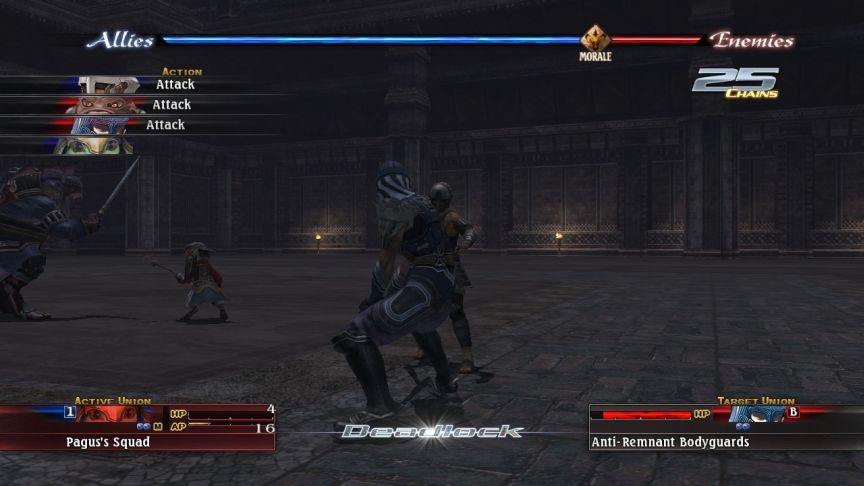
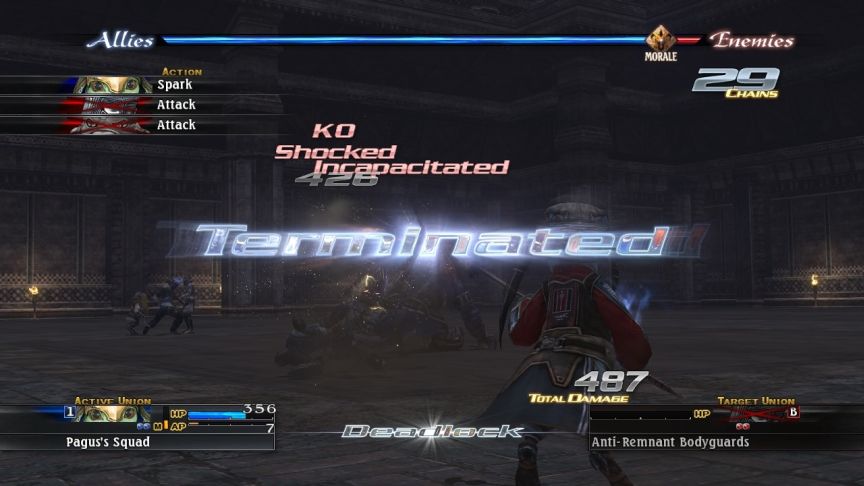
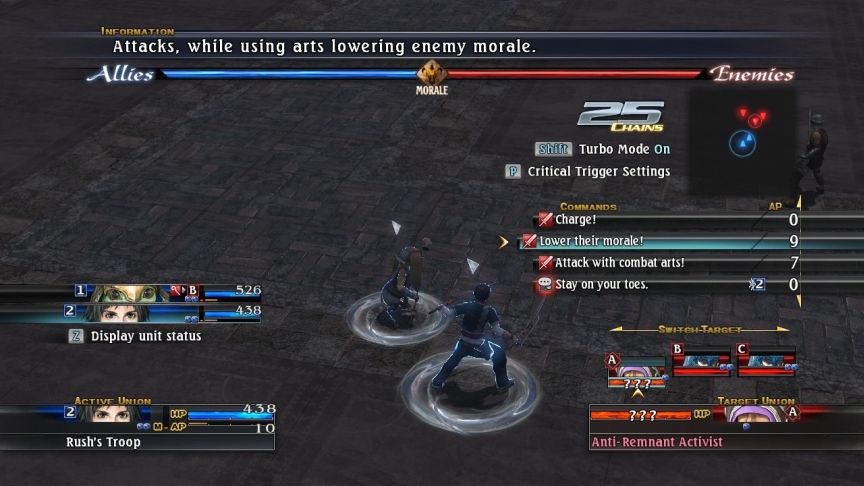 So here’s our boss battle for the dungeon. We’re up against the Anti-Remnant Activist and 4 of his lackeys. Like all bosses (and rare monsters), the activist’s health bar is obscured – we can’t know how much he has left, or how much damage we’re doing to him. We can only tell if he’s near death if his portrait starts flashing red.

 Here’s what landing a Critical Offense does for us. Note the turn order to the left now…
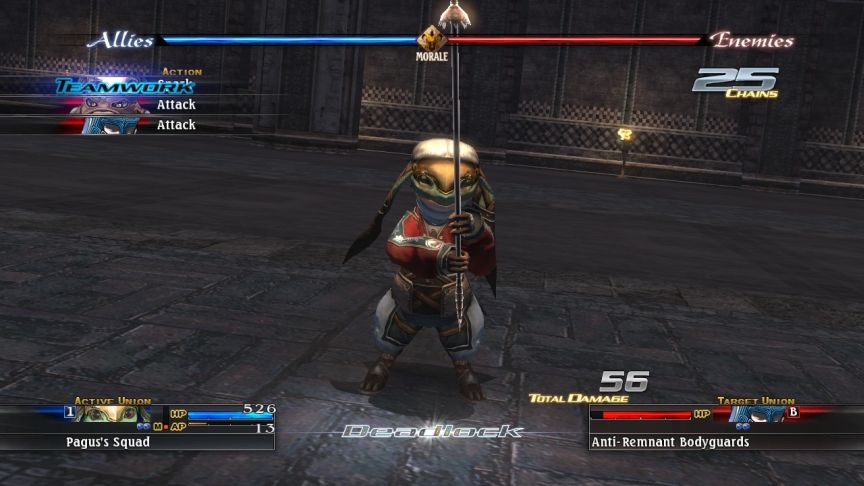 … and see how Pagus moves up in the turn order. Going before your enemies does is a huge help, and it can save you a lot of health. Unfortunately, the Yama dodged the shot from Pagus, so that union is still alive.
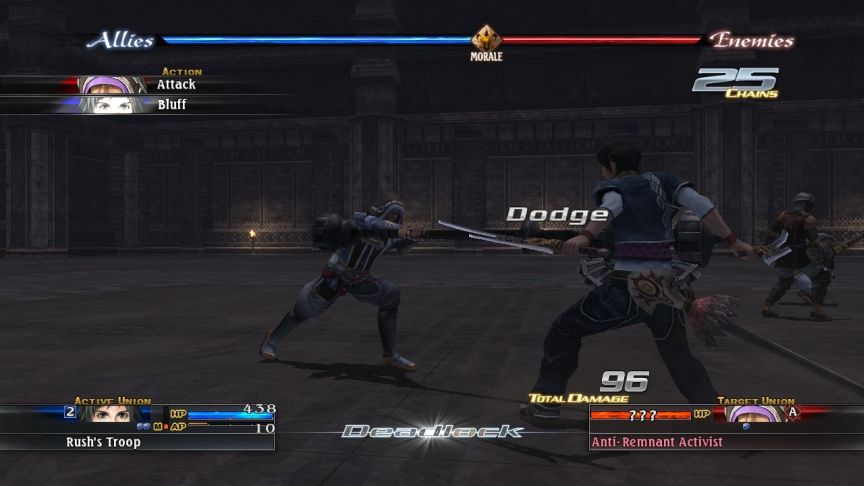 The animations are really great in the game. Bluff is the basic Psionics spell. It does no damage, but it substantially moves the Morale bar in your favour.
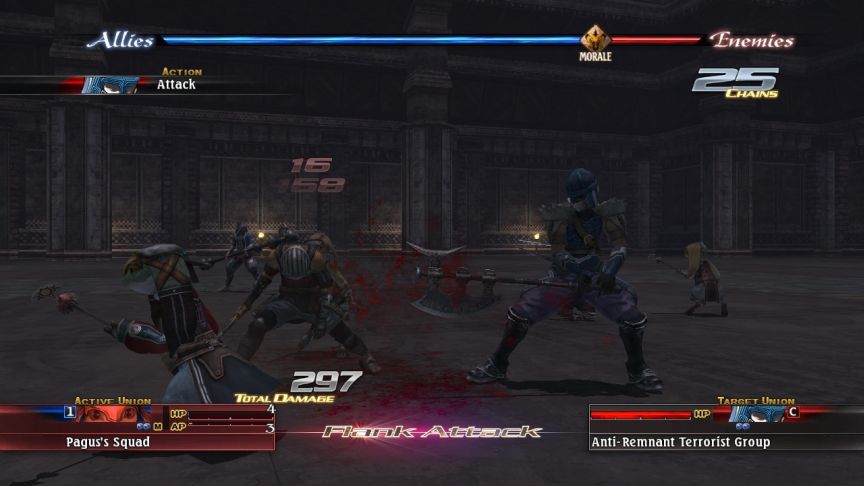 That was really close. I hadn't bothered saving my game in here, so if Pagus had died, there’s no question I’d have to have restarted the dungeon – there’s no way Rush could withstand going 1 on 3. This is why you should save often. Also, when you have high morale, it boosts your defense, so it’s likely that Rush’s use of Bluff was directly responsible for saving Pagus.
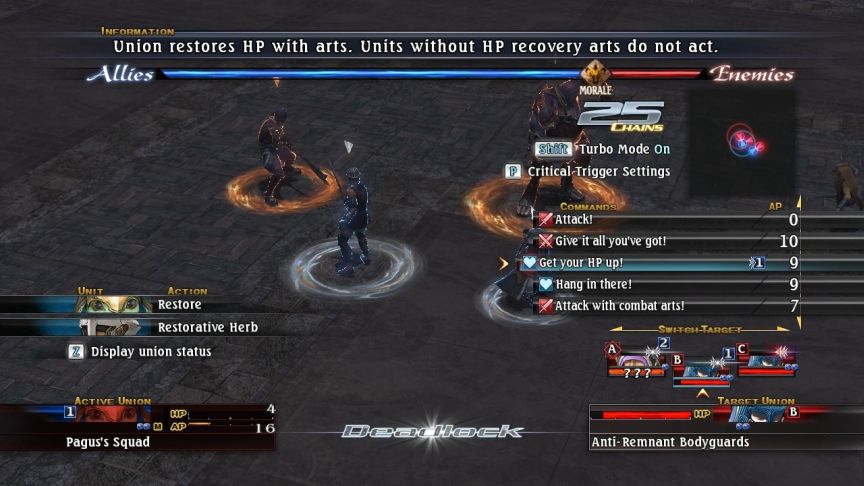 I have two choices: Break deadlock completely so both Pagus and his soldier (Luanne) can use healing arts – but take extra damage, OR Pagus will heal and Luanne will attack, maintaining deadlock. I chose the latter option, because Pagus should be able to fully heal the union anyway.
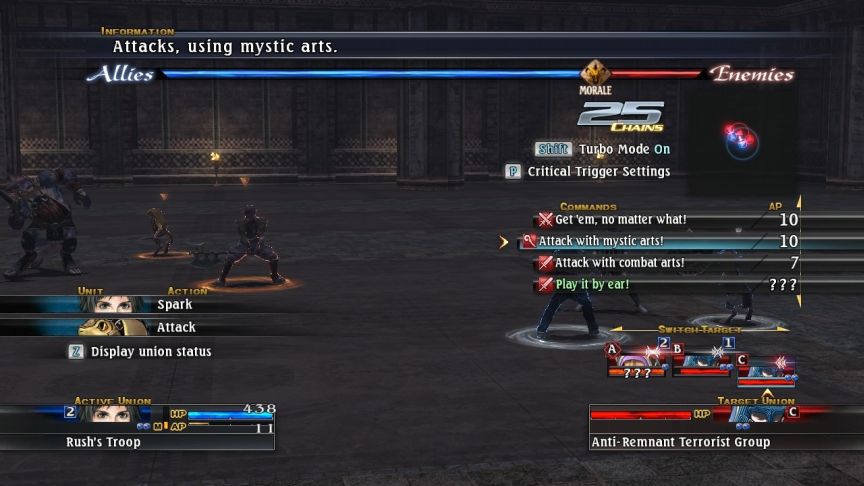 Rush will break his deadlock with the boss to attack the union flanking Pagus. Rush will take extra damage when the boss attacks us, but he's at full health, and this will prevent Pagus from getting flanked.
 Oh crap, two enemies are going to go before Pagus, and that is very bad.
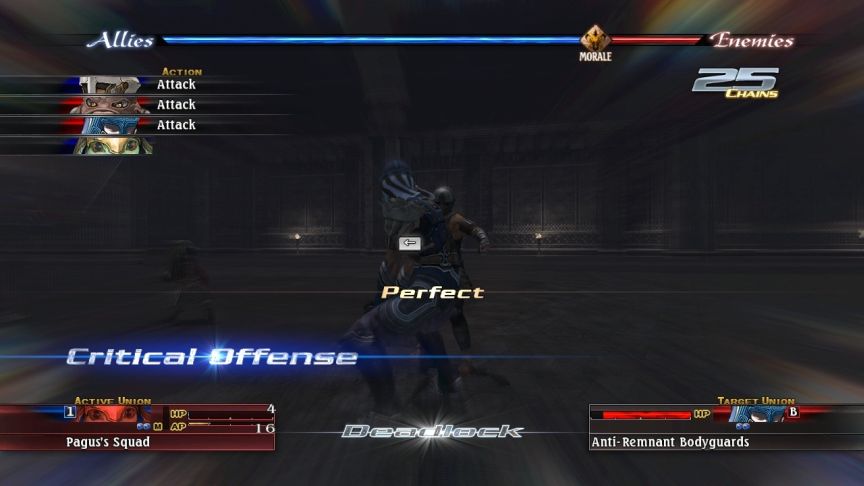 But wait!
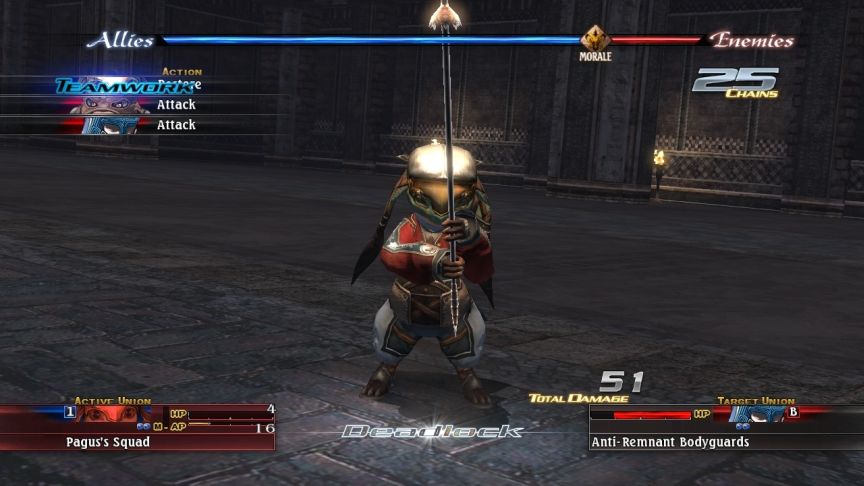 Ha ha! Yes! Critical Triggers save the day! Pagus heals his union back to full. Of course, the bad guys knock him back to half health, but he’s alive.
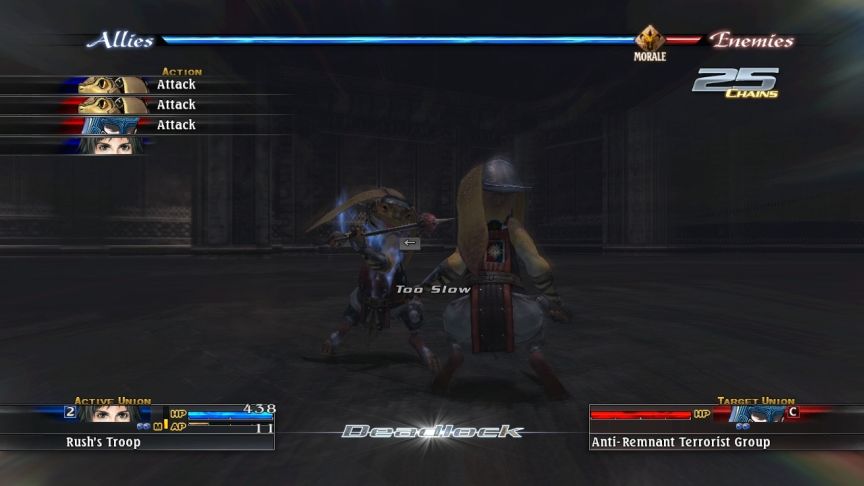 I blew this trigger, though, letting them take Rush’s Troop down to half health before Rush one-shot them with Spark. That’s not helpful, because now Rush is about to get…
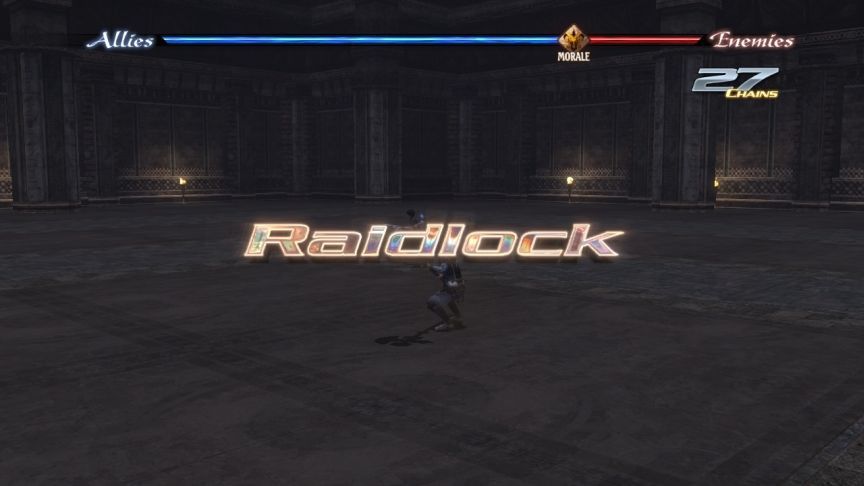
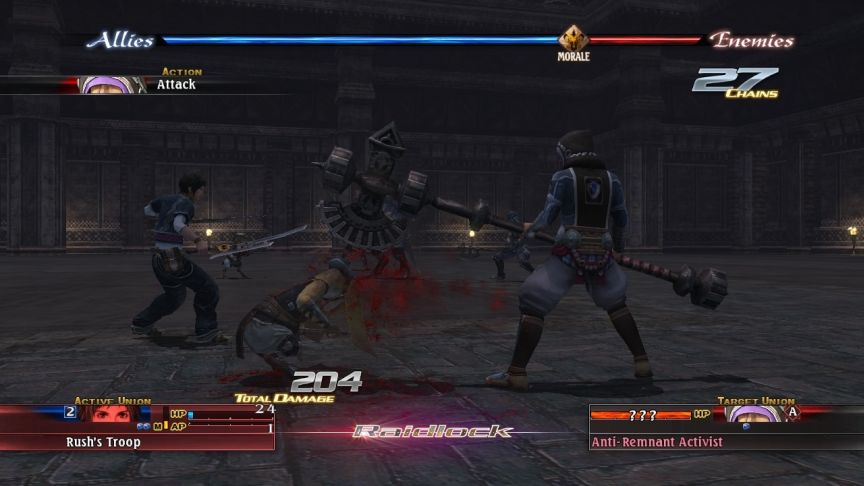 -Raidlock-
 That first sentence is completely wrong, I don’t know what wires got crossed there, but ignore what that said. Here’s what a Raidlock really is:
A Raidlock is a one-turn surprise attack against a vulnerable union. They get a morale and attack bonus.
A Raidlock can be triggered in the following ways:
- A union in a deadlock breaks the deadlock to perform another action (such as healing an allied union), and is attacked by the unit they were deadlocked with.
- A union is on standby and is attacked by another union.
- A union is performing a long-range attack and is attacked by another union.
- A union receives a flank or rear assault command, but at the time the command is actually executed, there are no other unions deadlocking the target.
I took a great deal of damage from getting Raidlocked, and that is why you should try to avoid breaking Deadlock. Don't be afraid to do it when it's necessary, but don't do it without good reason. I select “Heal while attacking” options for both, and that works – no one dies and we get back up to decent health. Also, this happened – not as part of the battle, just as a generic “background fighting” animation which plays when it’s not that unit’s turn.
Music: Reversal
I love this music. On “Disc 1”, it plays if you maintain high Morale for 2-3 turns in a row. It can also play if there’s a drastic, end-to-end flip in Morale for either side quickly.
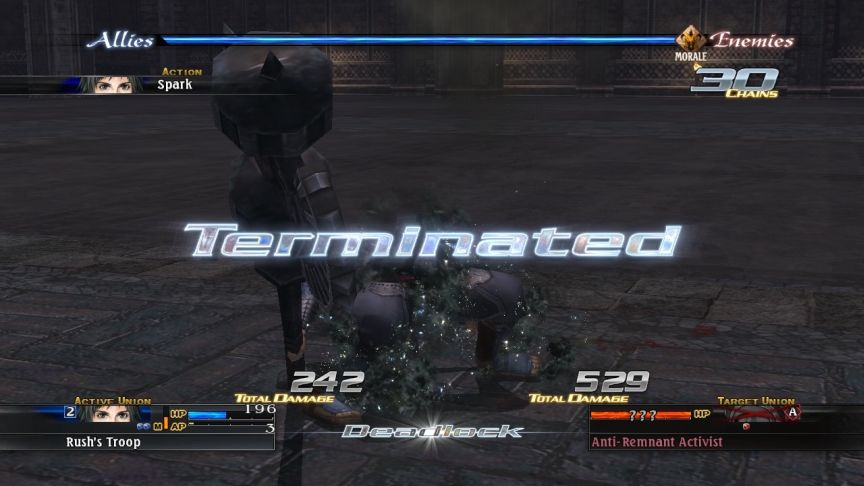
 Just the boss left now, so we’re pretty much in the clear.
 Done. Like monsters, humans also explode in sparkles when you kill them, it's not a monster-specific thing. He is dead. Anything which survives a boss battle either is still standing, or runs away.
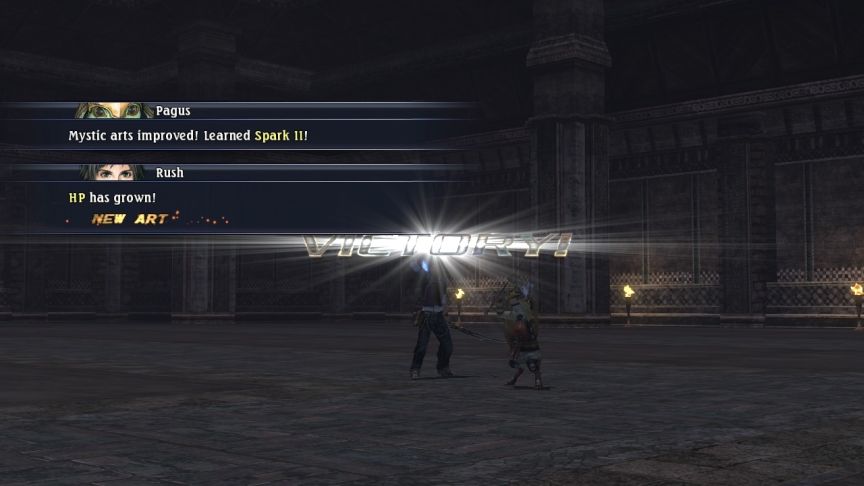
 -Mystic Chance-
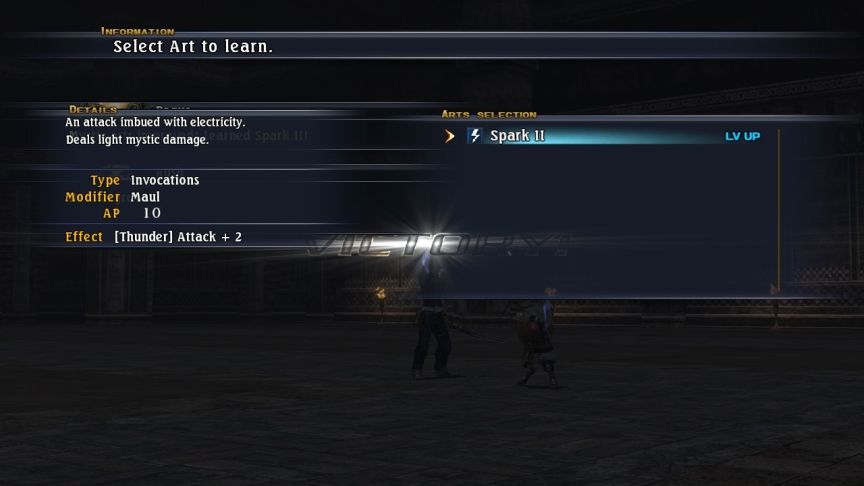
A Mystic Chance gives the opportunity to learn a new Mystic Art, or level up and existing Mystic Art. You may choose the art you would like to learn from a list.
You can only get one Mystic Chance per battle. If you’ve got enough experience in one of the game’s many, many, many, many, many, *deep breath* many, many, many hidden XP bars, Rush can learn or upgrade a Mystic Art. Other characters learn an art automatically. It’s possible for you to have more than one Mystic Art to choose between to level up, but you can only pick one. The ones you don’t pick aren’t gone, they just have to wait for the next Mystic Chance. You can only learn Mystic Arts after a battle’s conclusion.The Item and Combat arts can be learned mid-battle, and I don’t think there’s a limit to the number you can learn (although you’re not likely to learn more than three).
 I like that not everyone was a fight-to-the-death zealot. Most are just ordinary people with unpopular views.
Anti-Remnant Activist: To have such overwhelming power… No, Remnants are nothing but trouble.
Anti-Remnant Activist: We won’t give in to oppression!
Anti-Remnant Activist: What… what’re you trying to do? Leave me alone!
Anti-Remnant Activist: Irina? Sorry, I’ve never heard of her.
Anti-Remnant Activist: Get away from me, Remnant-user!
Anti-Remnant Activist: Remnants aren’t a necessity! Why can’t you understand that?
 Transporters can be found all over the world. One touch can teleport you to the World Map from even the deepest dungeon.
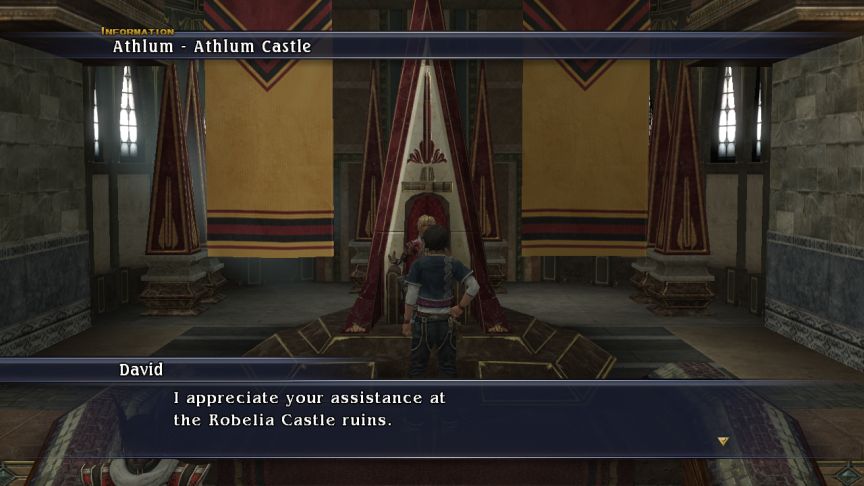 Pagus’s squad has left the party. Bloctor’s squad has joined the party. I am bad at guestimmating how long updates will be, so we’ll have to wait until next time for Blocter’s mission. It’s a bit shorter than this one.
New Arts Summary

Dungeon Video: Ruins of Robelia Castle (Tutorial)
BOSS Video: Occupy Athlum?
Next Time: I’m gonna smash your faces in!